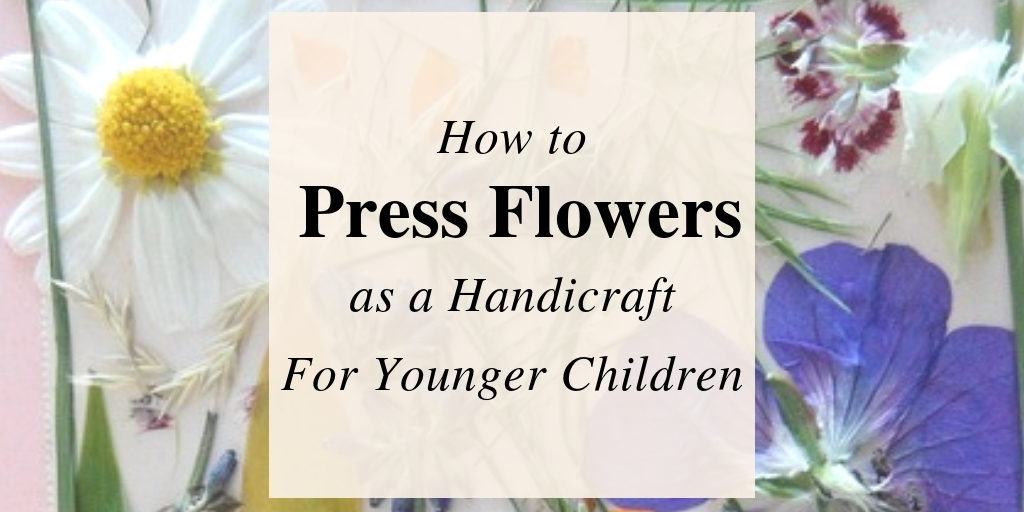
Pressing Flowers as a Handicraft
Pressing Flowers as a Handicraft

Pressing flowers is a way of keeping the glories of nature with us all year long. Children who preserve flowers for craft projects are proud to bring some of the wilderness they find indoors. They are able to keep the spirit of their beloved treasures alive.
Preserving flowers by pressing them is one of the easiest crafts to do, and is a great hobby for all ages. Once preserved, the pressed flowers can be used in a variety of ways, limited only by imagination.
To get the best results when pressing flowers for home craft projects, it is helpful to know a few basic techniques, including which flowers to select, which parts of the selected flowers to use. You should also know how to press them, and how to enhance those flower parts you’ve pressed. Finally, having some basic craft project ideas, to begin with, can act as your launching point for using those pressed flowers creatively.
Which Flowers to Select, Which Parts to Use
To get the best results when pressing flowers, it is important to understand that all flowers fade in color. Those that work best with the pressing technique usually have the following three characteristics: they are bold in color, they have “flat” faces, and they have thin, lean petals.
Those that dry quickly usually retain their color best. Those in the purple, yellow, and orange hues usually do well. A word of caution for those who hope to preserve red flowers, they will usually turn brown. White flowers also fade to a less than attractive beige color.

Specific varietals that work well in pressing plants include pansies, violets, larkspur, delphiniums, buttercups, tickweed, and forget-me-nots. Always pick flowers in their prime before they fade, and make sure there is no moisture (dew) on them before pressing. You can also press ferns, leaves, and grasses but they will be easy to press once you get the hang of flowers!
Once you have the flowers, decide if it will be easier to maintain the flower as a whole or break the petals off into separate pieces (which you can then reassemble once dried into a pleasing pattern). For big petals or voluminous flowers, pressing petals separately may be the only choice. Remove any dead pieces and extra leaves and stem.
How to Press Flowers
The most common way to press flowers is by using a specially designed flower press, available at most craft or garden stores. We bought ours a the Target Dollar Spot during spring. You can also order them off Amazon if that is the route you want to take.
Pressing flowers, however, can also be done with any large book. To press, take any light, non-print paper, such as tissue paper, tracing paper, or other thin clean blank craft paper. Lay the flowers out, cover with additional paper, close the book, and pile more heavy books on top to press. Let dry for two weeks, then check to see how the moisture is; replace with new paper to absorb if needed.
How to Enhance Your Dried Flowers
After drying your pressed flowers, some fading may have already occurred. In this case, there are several ways you can enhance the flowers’ color. One way is to use watercolor paints, painting the petals to match their original hue.
Another way to correct color irregularities is to use markers. Honestly, this method is not as easy and as it seems as my Kindergartener tends to pull the marker along delicate flower petals rather than dab the color as needed.
Some experimentation will be needed either way you go. Making more pressed flowers than you anticipate needing is always a good idea. Once you have pressing flowers and leaves down, then it’s time to craft!
Crafting Ideas
Pressed leaves and flowers, once created, are useful for many types of ornamentation. Beginning craft projects using pressed flowers include cards, gift cards for packages, gift bags, scrapbooking pages, and wall hangings. By trying smaller projects first, you will begin to understand how to work with pressed items.
More advanced projects usually require more detail and bigger surfaces, so starting small and simple will form a good foundation for learning to work with pressed flowers. Remember handicrafts are to be useful not just something to pass the time!
Pressing flowers from your own garden is a great way to preserve memories and to share them long after the season is over. With a few simple tips, your child can easily press flowers and leaves to create beautiful crafts!
My daughter has pressed several to create Christmas ornaments this year. She also enjoys pressing flowers to preserve to display on our nature shelf. I usually frame and on occasion have created window displays with clear contact paper. The opportunities are endless! Let me know what you plan to do with your pressed items!


How did yall make Christmas ornaments from the pressed flowers?
We use air dry clay to make discs and press the flowers into the clay, poke a hole for the string and let it dry for 48 hours. After 48 hours we string it and may mod podge it to seal it but it’s a preference on that part.